New to AI? Start here → Start 1. ChatGPT vs. Codex: what's the difference?
Get an OpenAI API key and make your first call
In one line
Get an OpenAI API key and make your first call
Separate from your ChatGPT plan: check keys, models, and billing.
The big picture
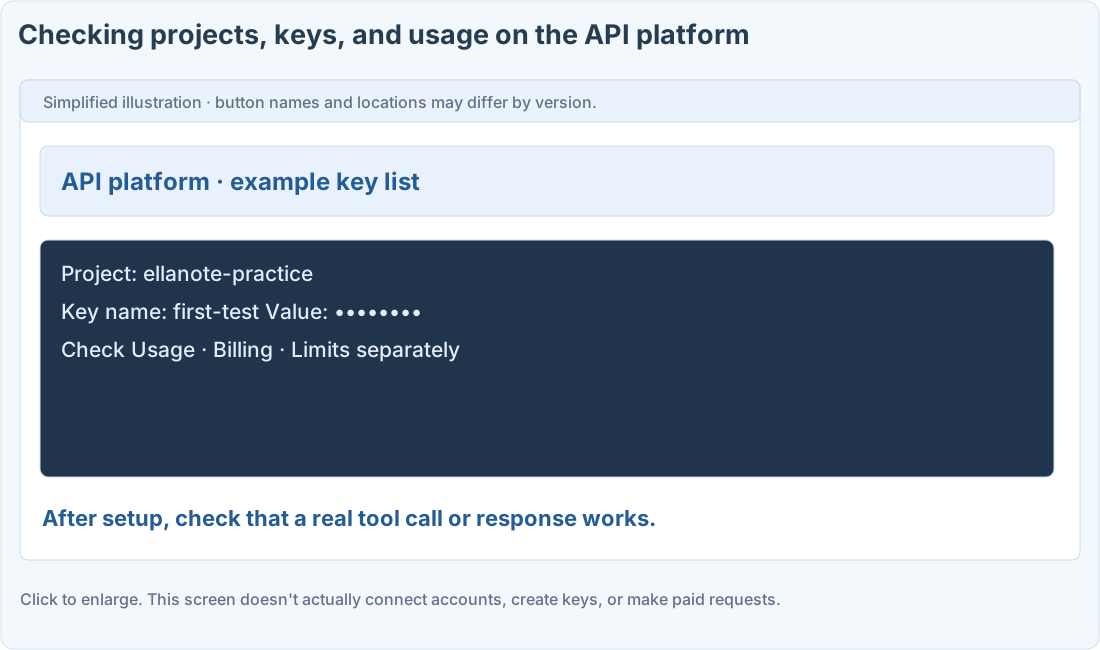
Illustration (may look a little different from the real screen)
Follow along
Before you start: real API calls can cost money
Your ChatGPT plan and API billing are separate. You need a local computer that can run Python, an API platform account, model access, and a payment method or prepaid credits. This site never receives your key or runs the API.
Check your project and key on the platform
1. Log in to the API platform
On the OpenAI API platform ↗, check your current organization and project. For work accounts, use a project you have permission for. This is different from the settings in the ChatGPT chat screen.
2. Check billing and usage limits first
Check the current terms on the platform’s Billing, Usage, and Limits screens. Don’t assume a budget alert will always block calls. Check how the actual spending limit behaves.
3. Create a new key under the project’s API keys
On API keys ↗, check the project and choose the current option, such as Create new secret key. Check the name, allowed actions, and expiry before creating it, and keep it in a safe place for secrets.
Make one call from your own computer
4. Get the SDK and the example file ready
Check your Python setup in Terminal or PowerShell. You can install the official SDK with python3 -m pip install openai on Mac/Linux, or py -m pip install openai on Windows. If you get an environment error, set up a separate virtual environment. Save the file below in a local practice folder.
Download the practice Python file
5. Check the model and run the test file
Check the official models and pricing pages, and which model IDs your project can use. Run it with python3 first_api_call.py on Mac/Linux, or py first_api_call.py on Windows. Paste your key into the hidden input in your local terminal, then type the model ID. This step may be a real paid request.
Illustration (may look a little different from the real screen)
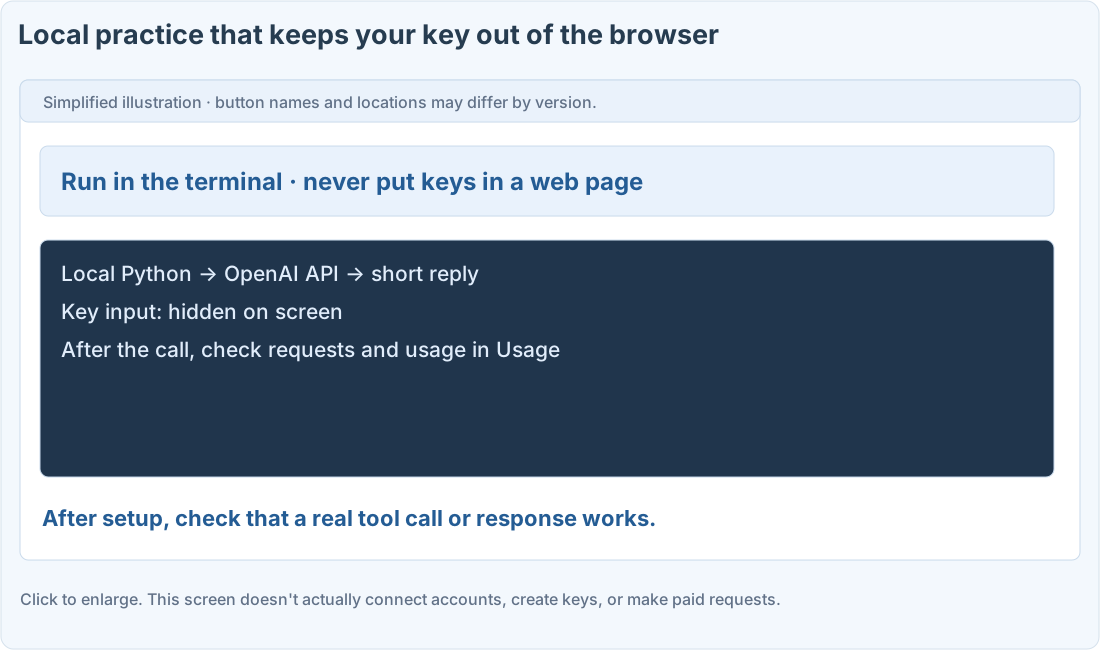
On real servers, use the OPENAI_API_KEY environment variable or a secrets manager. Never put keys in public HTML, browser JavaScript, GitHub, screenshots, or ChatGPT chats.
Code and prompts you can copy
Python example to run locally
Get help with an error without sharing your key
Where people get stuck
If it fails, check these before making new keys
- 401: Check the key, whether it expired, and the project.
- 403 or a model error: Check permissions and whether you have access to that model.
- 429: Read the error to see whether it’s a rate limit or a balance/usage problem.
After testing, check Usage for any requests you didn’t expect. A key that has been exposed must be revoked and replaced. This guide itself didn’t actually run the API.
Quick check: Can I put my API key inside public HTML?
Answer: “No, keep it as a secret on your computer or server”
A key sent to the browser can be exposed in the source code or requests. Keep it as a secret on the server or locally.
Official sources
- API quickstart
- Authentication overview
- Managing projects in the API platform
- Best practices for API key safety
I'm stuck here
Stuck while following along? Tell me where. Only the site owner sees this. Leave your email only if you'd like a reply.
💌 Get new tips by email
I'll email you when a new tip goes up. No ads, ever.